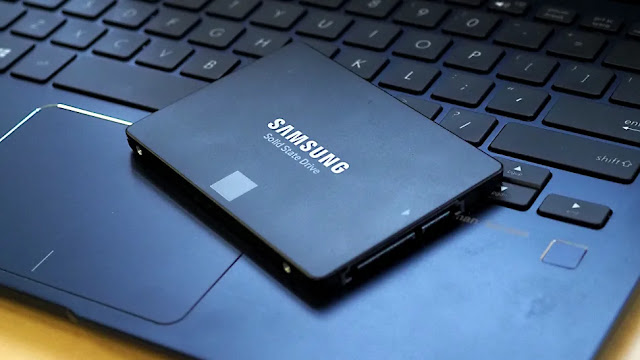
SSD Installation Guide for Your PC
Welcome to our Blogger site dedicated to helping you upgrade your PC with a solid-state drive (SSD).Whether you're a beginner or an experienced user, we're here to guide you through the process step by step. Upgrading to an SSD can significantly improve your PC's performance, speed up boot times, and enhance overall responsiveness. Let's dive into the installation process. You can get different storage of SSD in the market and its price depends on the brand and SSD memory storage level. This Storage level is based on the tasks you perform on your computer.
Step 1: Gather Your Tools and Materials
Step 2: Prepare Your PC
Locate the drive bays inside your PC case. Typically, you'll find them near the front, bottom, or side of the case. Most modern cases have dedicated drive bays for both HDDs and SSDs.
Step 4: Mount the SSD
If your SSD came with a mounting bracket, attach it to the SSD using the provided screws. If not, some SSDs come in a 2.5-inch form factor, which can fit into standard drive bays without a bracket. Slide the SSD into an available drive bay and secure it with screws.
Step 5: Connect the SSD
Locate the SATA data and power cables from your power supply. Connect one end of the SATA data cable to the SSD and the other end to an available SATA port on your motherboard. Next, connect the SATA power cable to the SSD.


.jpg)